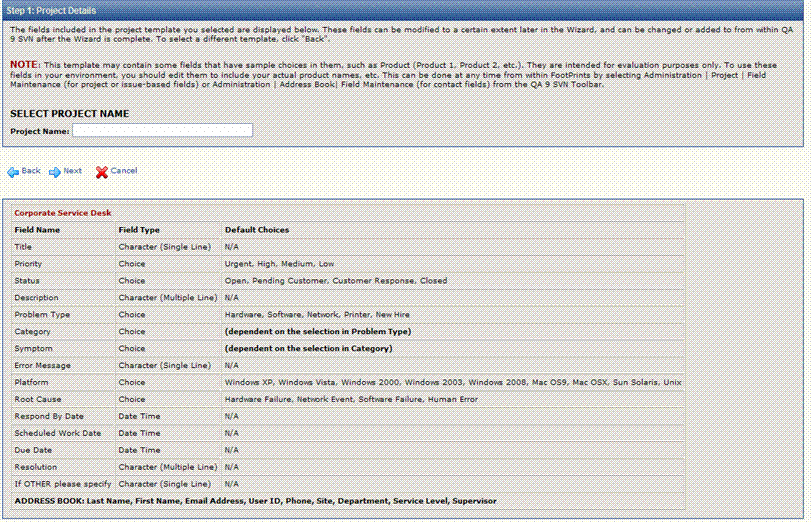
In this step, enter a name for your project(s) and confirm the template and fields selected in the initial Project Setup Wizard screen. These fields can be modified later in the Wizard and can be changed or added to from within FootPrints after the Wizard is complete. To select a different template, click Back.
Enter a project name in the field.
Note
The template selected may contain some fields that have sample choices in them, such as Product (Product 1, Product 2, etc.) and Location (First Floor, Second Floor, etc.) They are intended for evaluation purposes only. To use these fields in your environment, you should edit them to include your actual product names, locations, and so on. This can be done at any time from within FootPrints by selecting Administration | Project | Field Maintenance (for project or issue-based fields) or Administration | Address Book | Field Maintenance (for contact fields) from the FootPrints Toolbar.