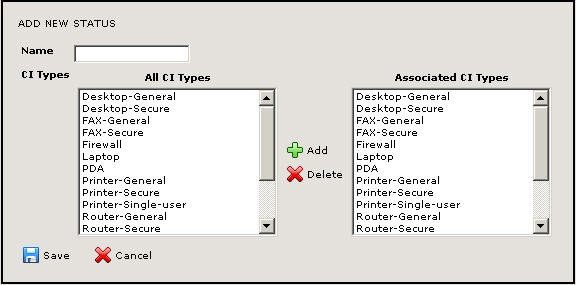
 Add button. The Add Status Editor is displayed.
The Statuses option of the Admin selection is used to create the statuses for CI Types and associate them with CI Types.
To add a status, from the CMDB homepage:
 Add button. The Add Status Editor is displayed.

 Add button.
 Delete button. This does not delete the CI Type. It only removes its association with this status.
 Save button. The status is saved, along with the associations you specified, and is displayed in the Statuses field.
To add a status, from the CMDB homepage:
 Edit button. The Add Status Editor is displayed.
 Save button. The status is saved, along with any changes you made, and is displayed in the Statuses field.
To delete a status, from the CMDB homepage:
 Delete button. A confirmation pop-up window is displayed into which you must enter your password in order to complete the deletion.
 GO button. The Status is deleted and is no longer displayed in the Statuses field.